

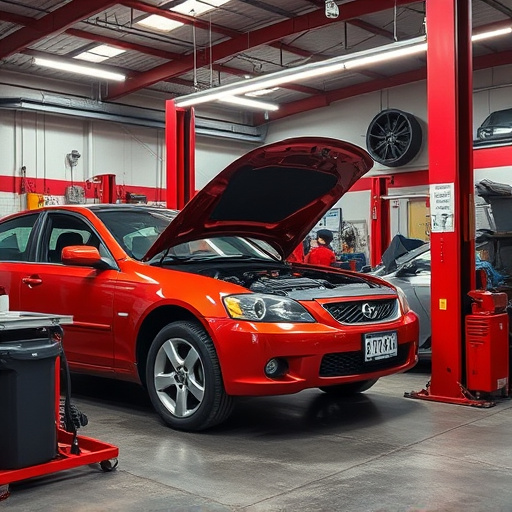


OEM glass replacement ensures vehicle safety and structural integrity by using manufacturer-specific glass designed for precise fitting. The process demands high-quality sealants that withstand environmental stresses, with selection based on vehicle type and operating conditions. A step-by-step guide emphasizes preparation, sealant choice, even application, perfect fit, and excess material removal for successful OEM glass installations in auto collision repair or restoration.
In the realm of automotive craftsmanship, ensuring a seamless fit and superior water resistance in OEM glass replacements is paramount. This article serves as your guide to mastering the art of applying proper sealants. We’ll delve into the intricacies of understanding OEM glass replacement, exploring the significance of choosing the right sealant for your specific application. Subsequently, we’ll provide a step-by-step toolkit to guarantee a secure and durable installation.
- Understanding OEM Glass Replacement and Sealants
- Choosing the Right Sealant for Your Application
- Step-by-Step Guide to Applying Proper Sealants for OEM Glass Installations
Understanding OEM Glass Replacement and Sealants

When it comes to OEM glass replacement, understanding the process is key. OEM (Original Equipment Manufacturer) glass refers to the specific glass components designed and manufactured by the vehicle’s original producer. This is important as it ensures a perfect fit and maintains the integrity of the car’s structure and safety features. The replacement process involves more than just swapping out broken or damaged glass; it requires precise alignment, proper sealing, and adherence to OEM standards for optimal performance and aesthetics.
Sealants play a crucial role in this process. They not only enhance the structural bond between the glass and the car body but also provide insulation, noise reduction, and protection against water intrusion. In auto bodywork, especially in mercedes benz repair or car body restoration cases, choosing the right sealant for OEM glass installation is essential. This ensures longevity of the repair, maintaining the vehicle’s overall condition and performance, much like a intricate symphony where each component relies on another to function harmoniously.
Choosing the Right Sealant for Your Application
When it comes to OEM glass replacement, selecting the appropriate sealant is a crucial step in ensuring a durable and leak-free seal. The right sealant should be chosen based on several factors specific to your application. For instance, consider the type of vehicle and its operating environment; different cars have varying levels of exposure to weather conditions, temperature fluctuations, and potential UV radiation from sunlight. These variables impact the performance and longevity of sealants used in car bodywork services.
For a robust solution, manufacturers often recommend sealants designed for specific glass installation needs. These sealants are engineered to withstand the stresses of auto body services, especially in collision centers where vehicles undergo extensive repairs. Look for products that offer excellent adhesion, flexibility, and resistance to water penetration. Properly selected sealants will not only prevent moisture-related issues but also contribute to a more seamless integration of the glass into the vehicle’s structure.
Step-by-Step Guide to Applying Proper Sealants for OEM Glass Installations

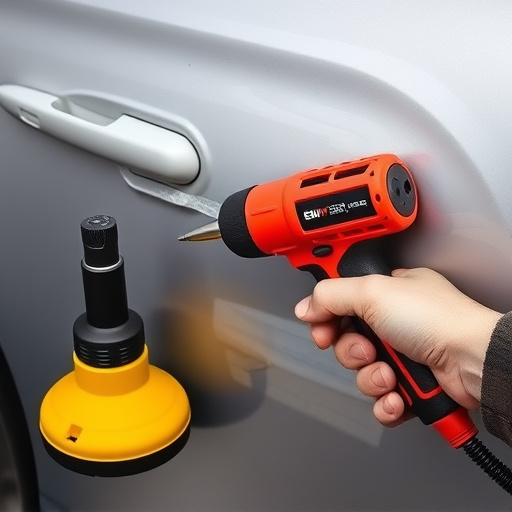
Applying proper sealants for Original Equipment Manufacturer (OEM) glass installations requires a meticulous approach to ensure both functionality and aesthetics. Here’s a step-by-step guide to help you achieve optimal results in auto collision repair or car restoration projects involving OEM glass replacement.
1. Prepare the Surface: Begin by thoroughly cleaning the area where the glass will be installed, removing any debris or contaminants. This step is crucial for achieving a strong bond between the sealant and the vehicle’s surface. Ensure the panel is dry before proceeding to the next stage.
2. Choose the Right Sealant: Select a high-quality automotive sealant specifically designed for OEM glass applications. Different sealants have varying properties, so choose one that offers excellent weather resistance, flexibility, and adhesion, aligning with your car paint repair or restoration needs.
3. Apply the Sealant: Using a clean, flat spatula or applicator, evenly distribute the sealant along the edges of the glass where it meets the vehicle’s panel. Spread the sealant in a thin, even layer, ensuring complete coverage without over-saturating. Allow the sealant to dry slightly according to the manufacturer’s instructions before proceeding.
4. Press and Seal: Carefully position the glass into place, applying firm pressure to ensure proper contact with the sealant. Any air bubbles or gaps can compromise the integrity of the seal, so take your time to achieve a perfect fit. Once in position, secure the glass with clamps or weights if necessary, following the manufacturer’s guidelines for the recommended weight and pressing duration.
5. Clean Excess Sealant: After the glass has been properly seated, inspect the sealant application for any excess material. Remove any surplus sealant using a clean rag or blade to maintain a clean, professional finish, free from messy residue that could detract from your car restoration efforts.
When it comes to OEM glass replacement, selecting and applying the right sealants is crucial for ensuring a secure, long-lasting fit. By understanding your application needs and choosing the appropriate sealant, you can achieve optimal results. Following the step-by-step guide provided, you’ll be well-equipped to master the art of sealing, fostering a robust and efficient installation process.